ΠΡΟΣΟΧΗ!
whatever I do here, I do on my own motorcycle and I take responsibility for it, my own motorcycle!
If you decide to do something along these lines and break/disarm/annihilate/exterminate your motorcycle, it's totally your own responsibility!
So, as clearly as this can be said: I AM NOT RESPONSIBLE for your damages!!!!
24.10.2022
How to replace a R1150GS RID!
My friend's Spyros R1150GS came with a RID that had a broken screen.
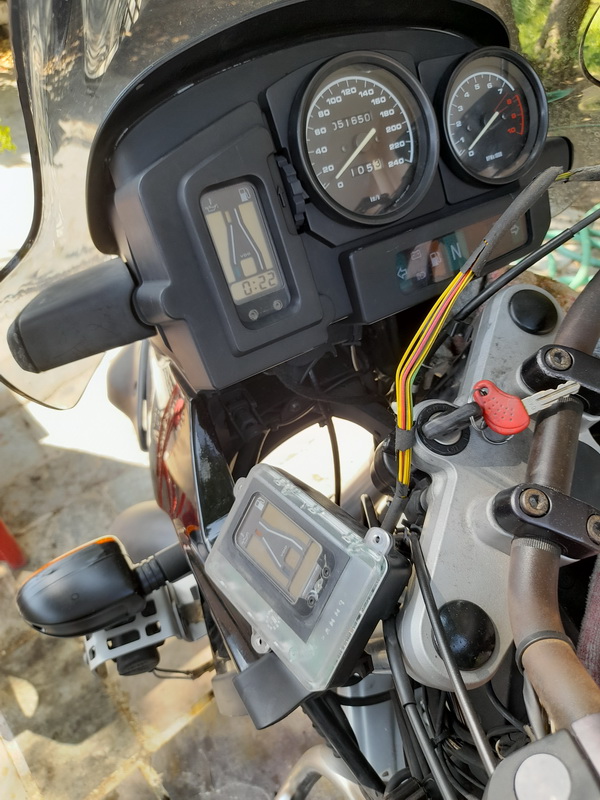
Since I had an old R1100GS RID (short for Rider Information Display) hanging around, I decided to mount it on the 1150.
However, there's a snag... Isn't always one there?! The 1150 has a six speed gearbox while the 1100 has only 5 speeds... Hmmm...
Checking the relevant parts for the two bikes, it shows that both are quite expensive: Theoretically, if you tried to buy either new, it would cost around $500, give or take a fiver!.
The other, let's say problem, appeared after I mounted the 5 speed RID on the 6 speed 1150... What was it? When riding, all gears show normally. 1N2345. Fine. When you engage 6th gear it goes... BLANK! If you can live with this small problem, go ahead! Otherwise, get an appropriate RID.
For reference a 2000 MY R1150GS has a RID part number: Driver's information display 6 GANG 62137679849
The part number for a 1997 MY R1100GS is: Driver's information display 5+E 62132350607
Notice the difference in the descriptions!
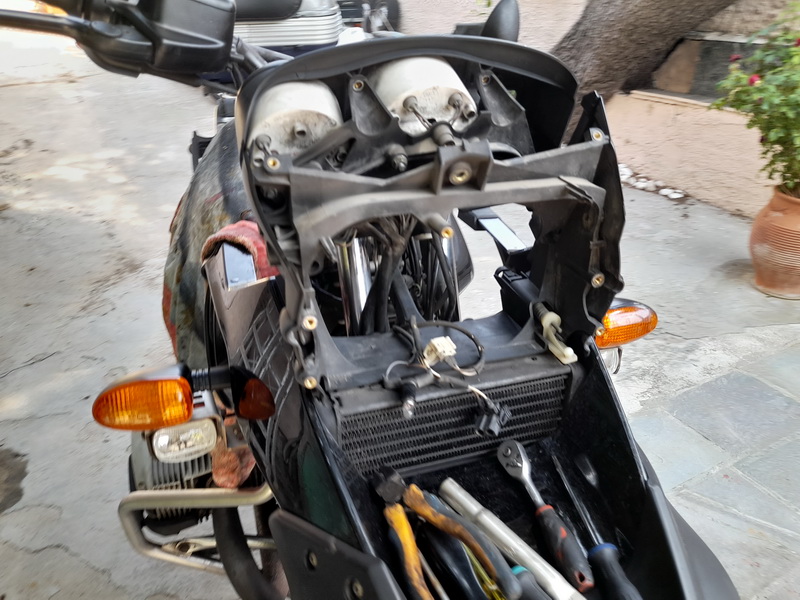
Now that we got this out of the way, let's see what needs to be disassembled...
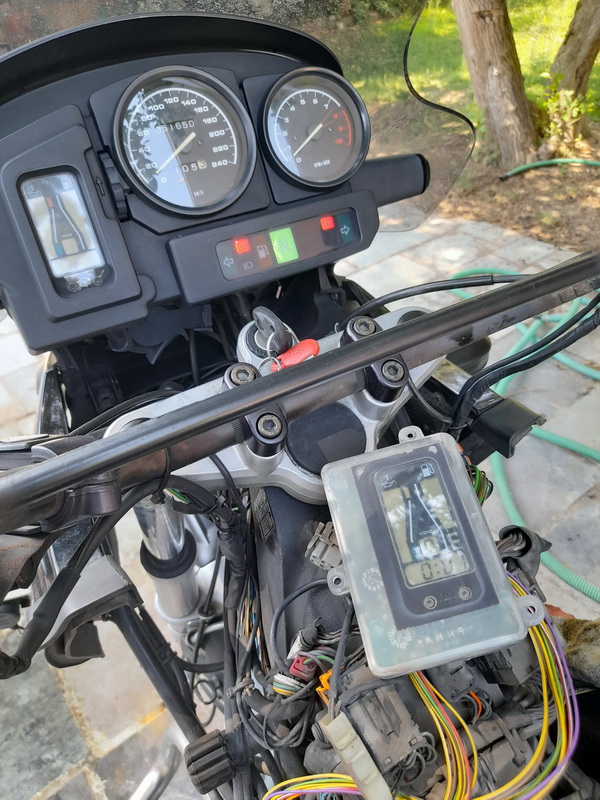
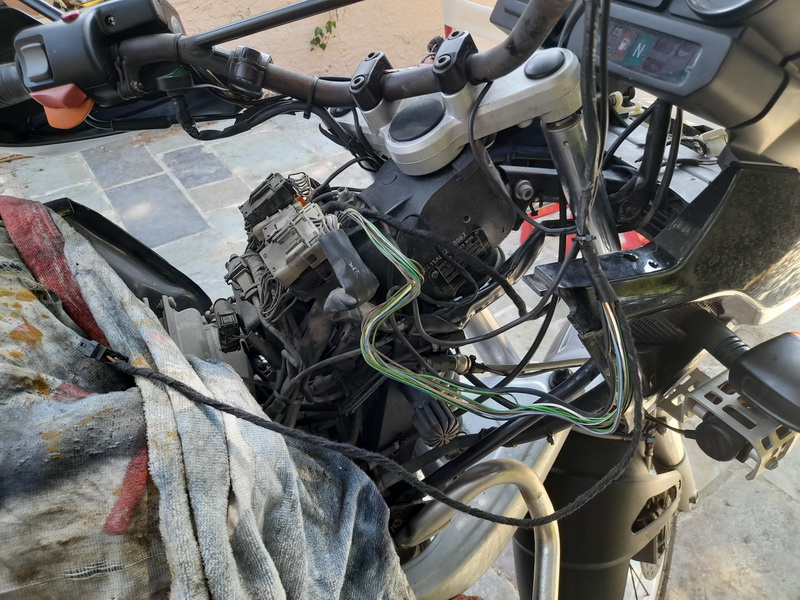
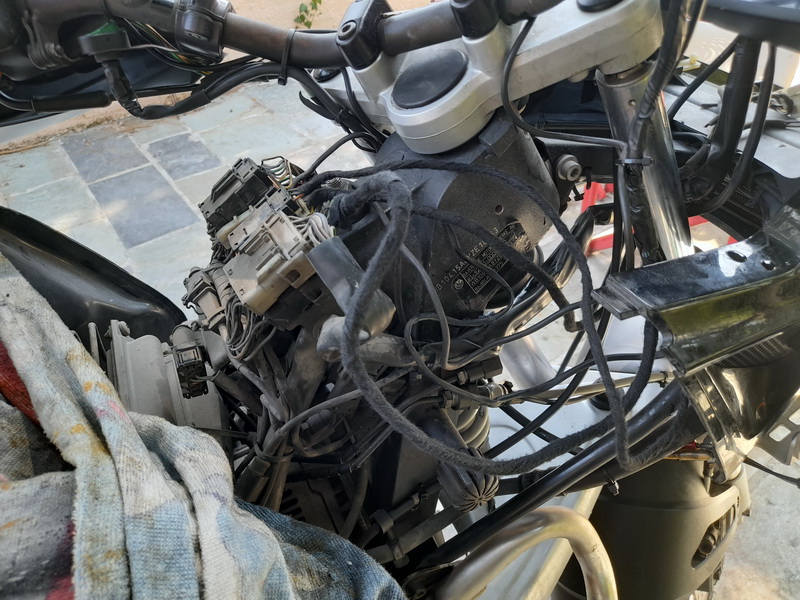
First we have to remove the tank. Actually, not away from the bike, just slide it back, so we have access to the plugs behind the steering stem.
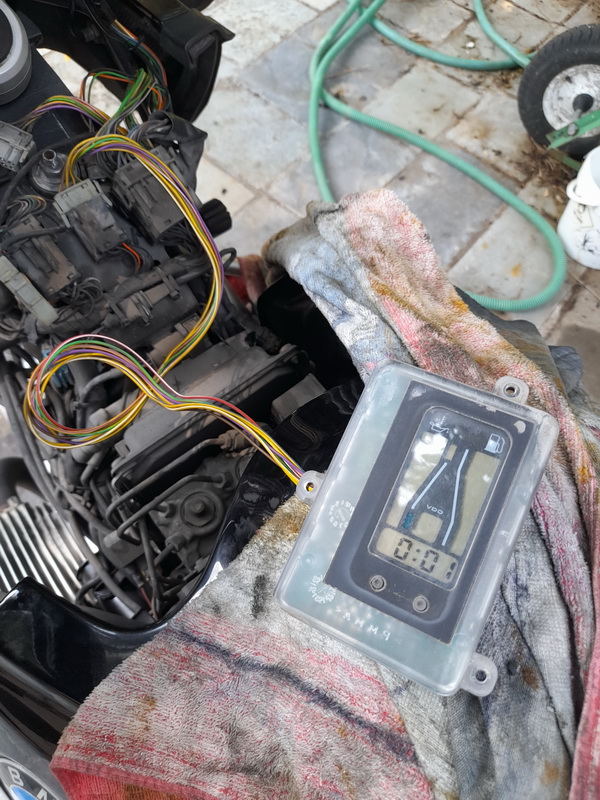
Unplug the old RID, plug the new one and twist the key...
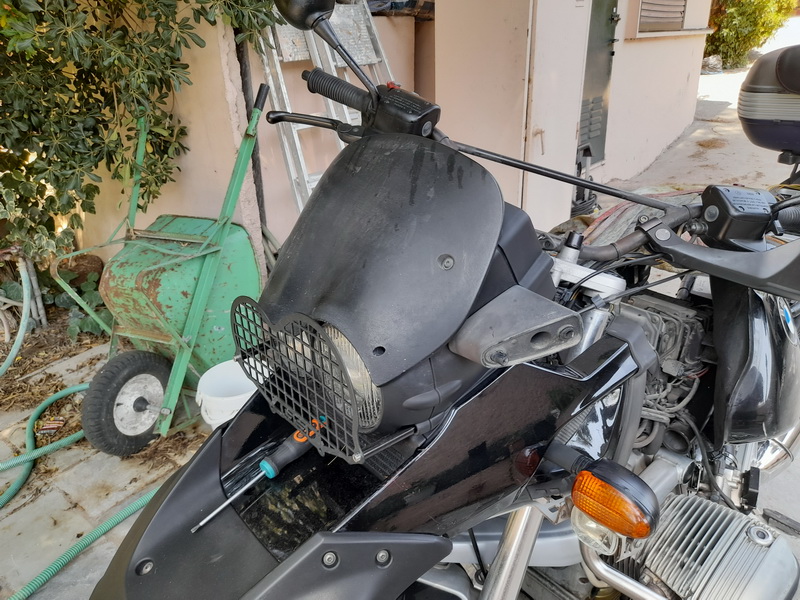
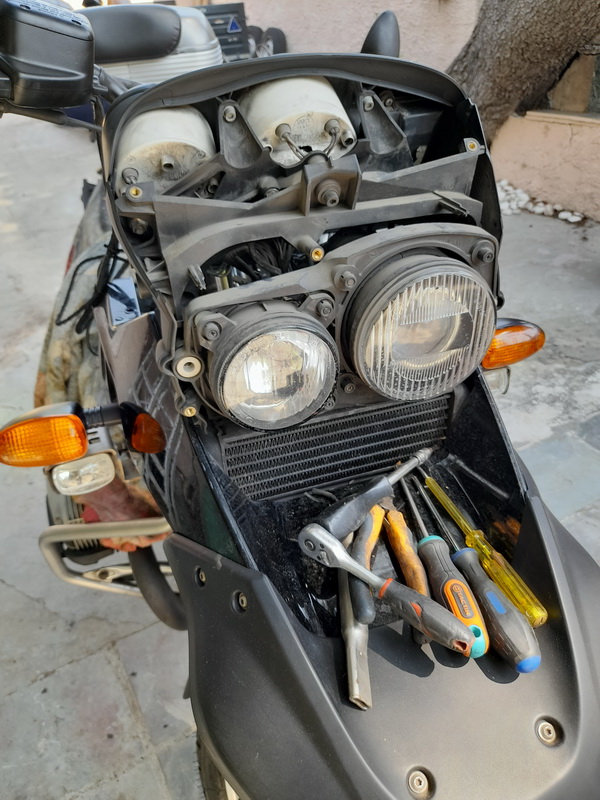
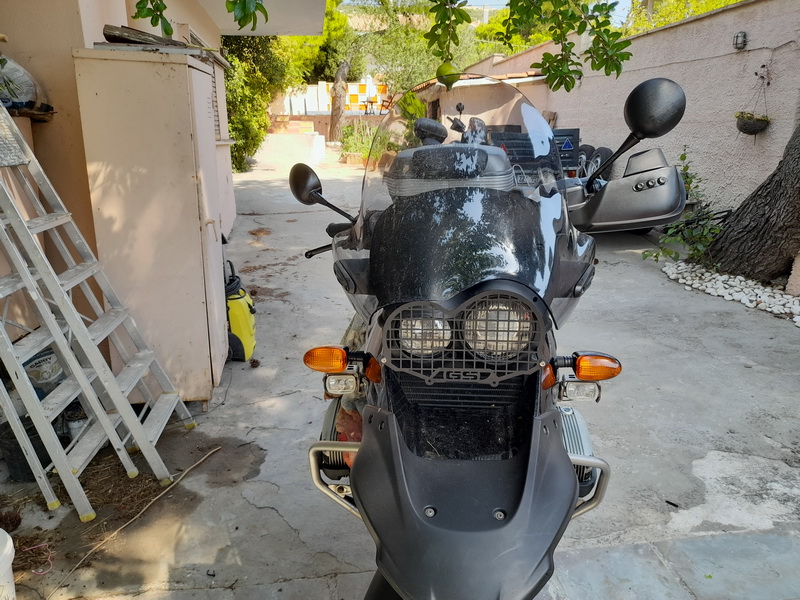
Remove the windshield
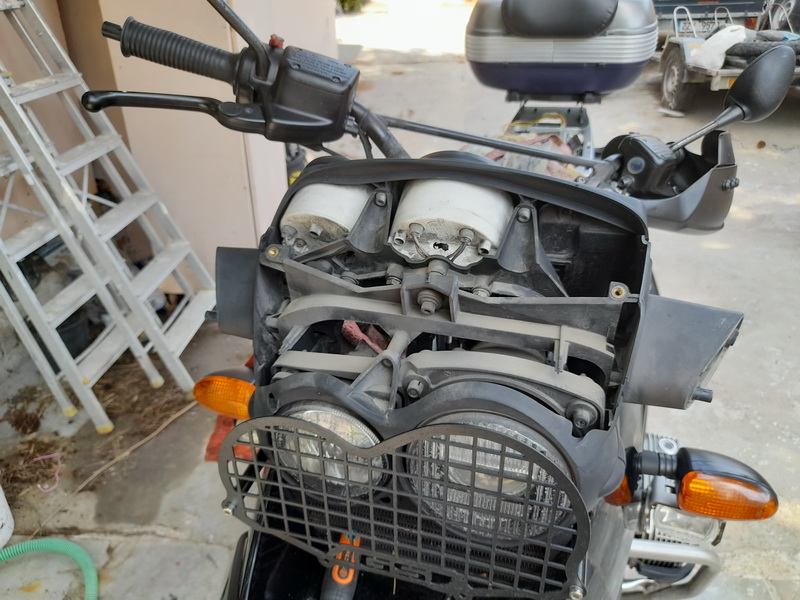
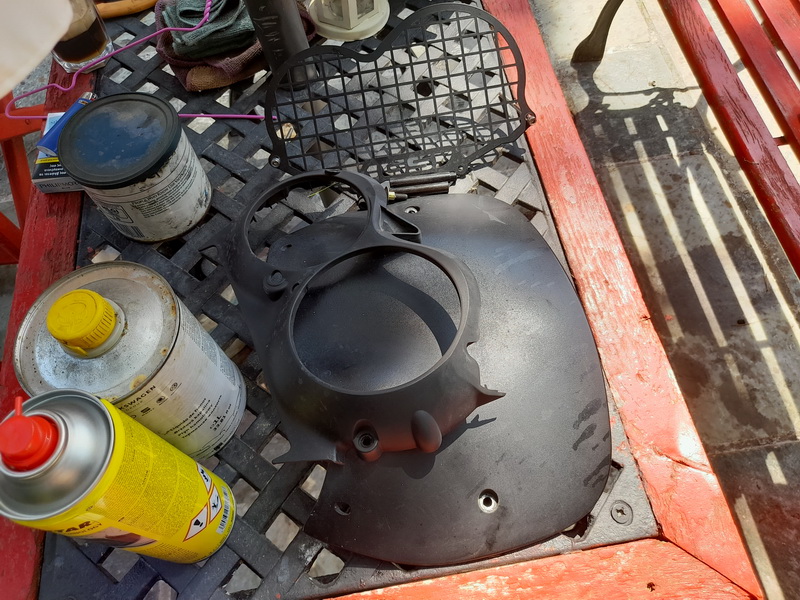
Remove the black (in this case) insrument cover
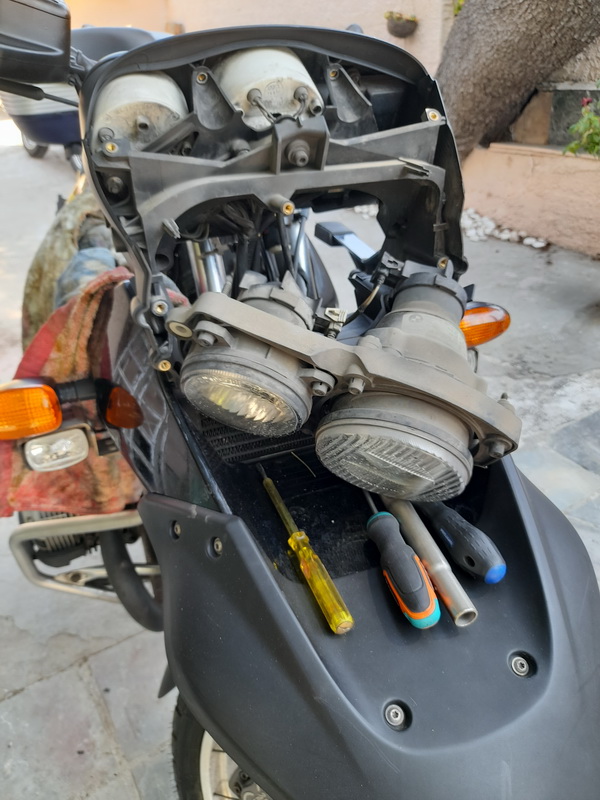
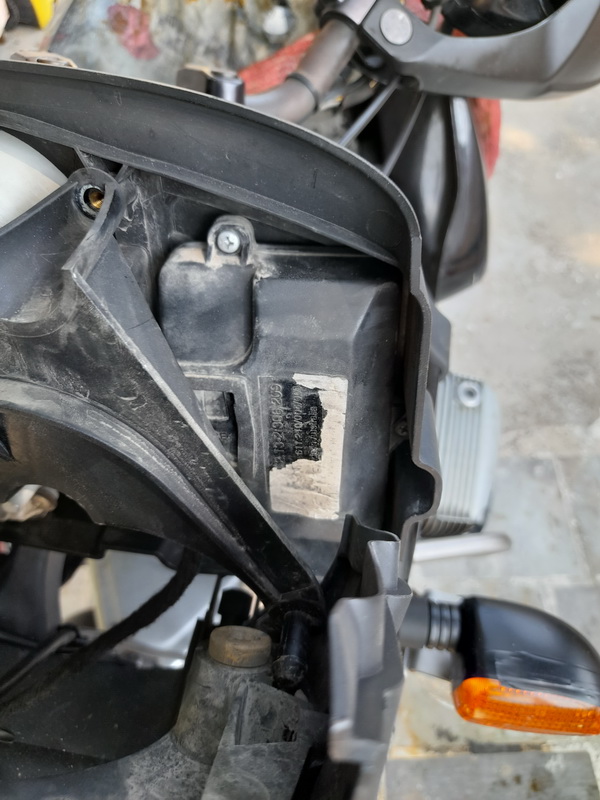
Unbolt the lights' cluster
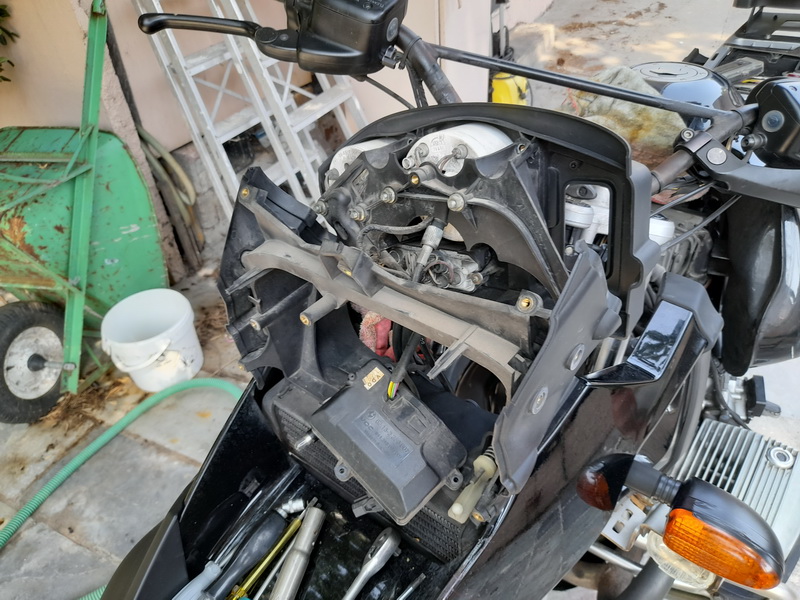
Now we have access to the philips screws that hold the RID and its plastic panel in place. We remove these.
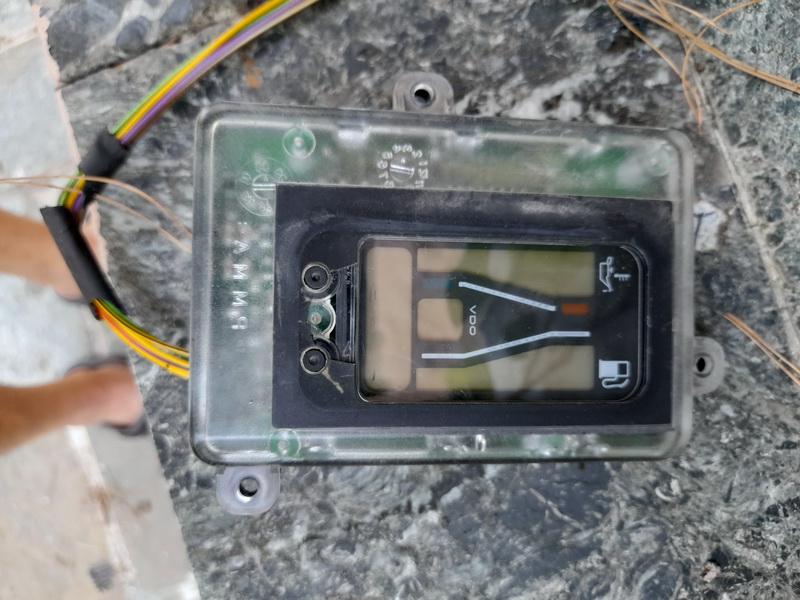
Both RIDs out here...
Another view of the disassembled parts.

Covering the bike with a rag is a good idea toavoid scratches...
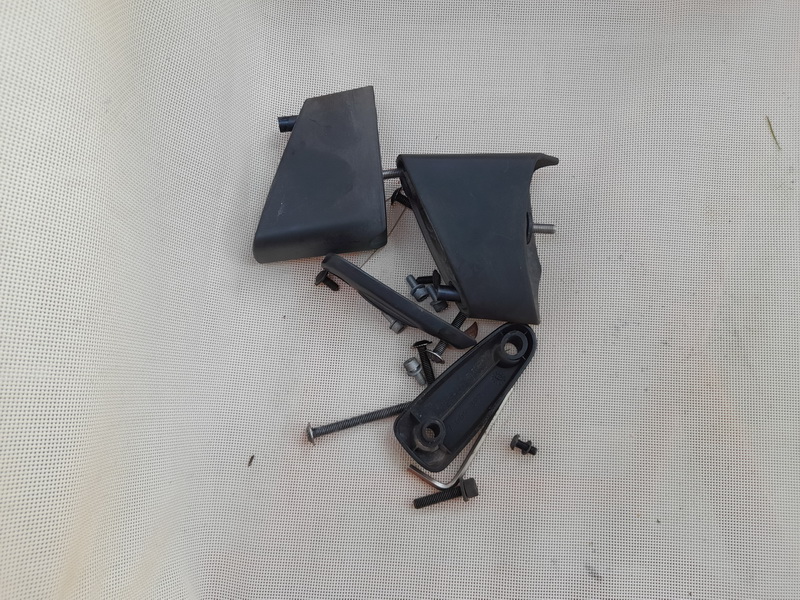
The windshield mounting hardware
Lights cluster and front frame
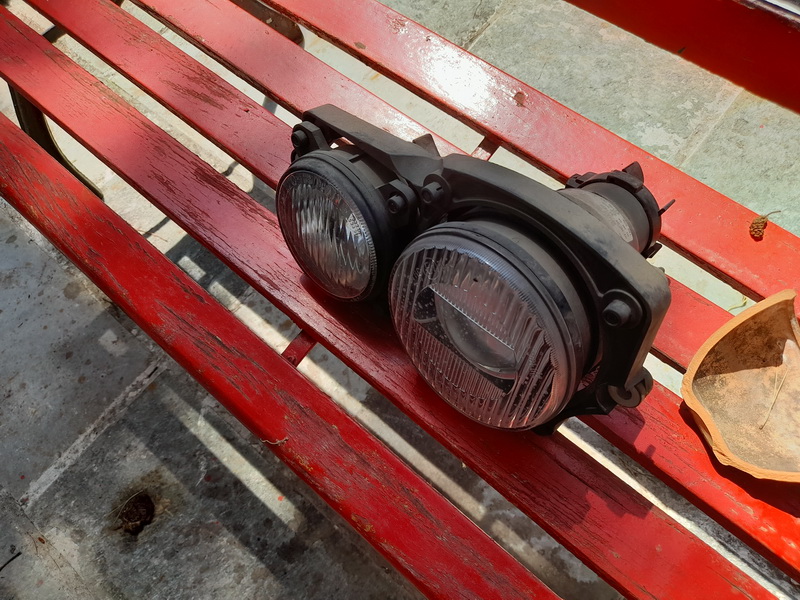
The lights
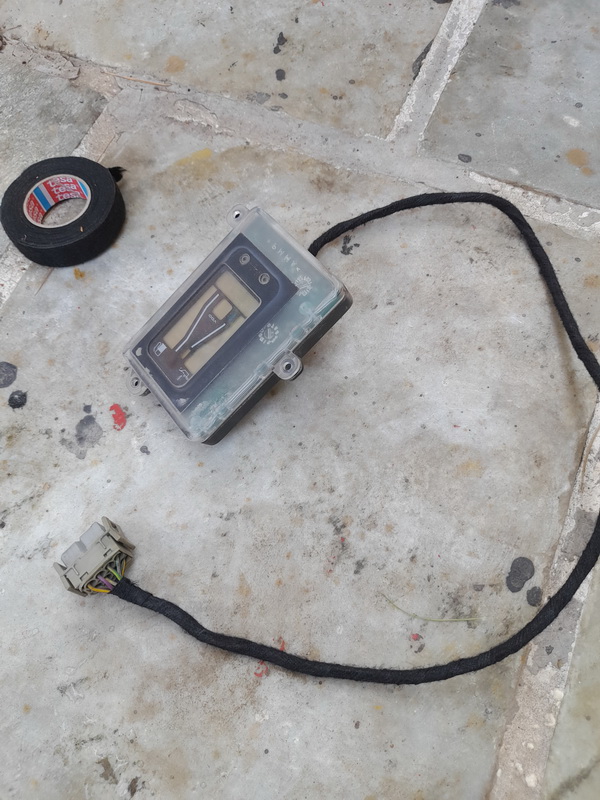
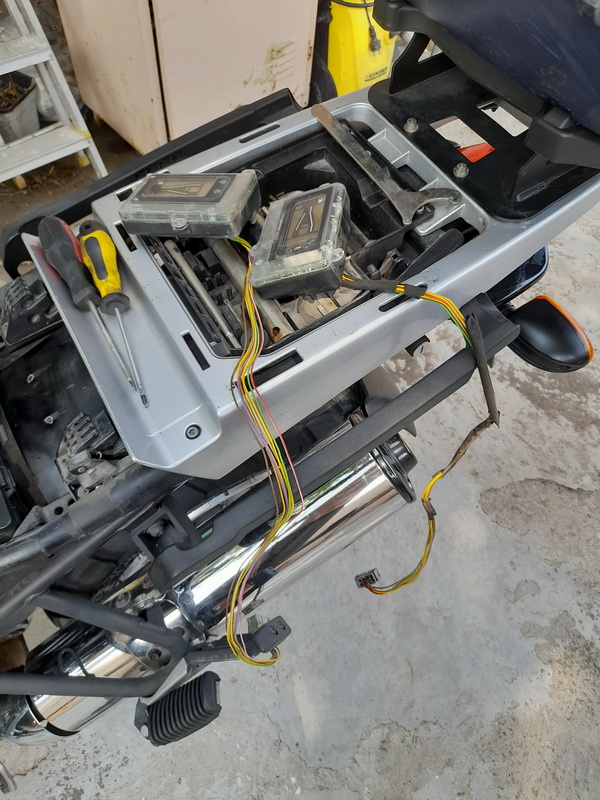
The "new" RID harness covered with strong fabric tape. Hopefully it will last a few years!

RID bolted in place.
More cable tidying, since we are here!!!
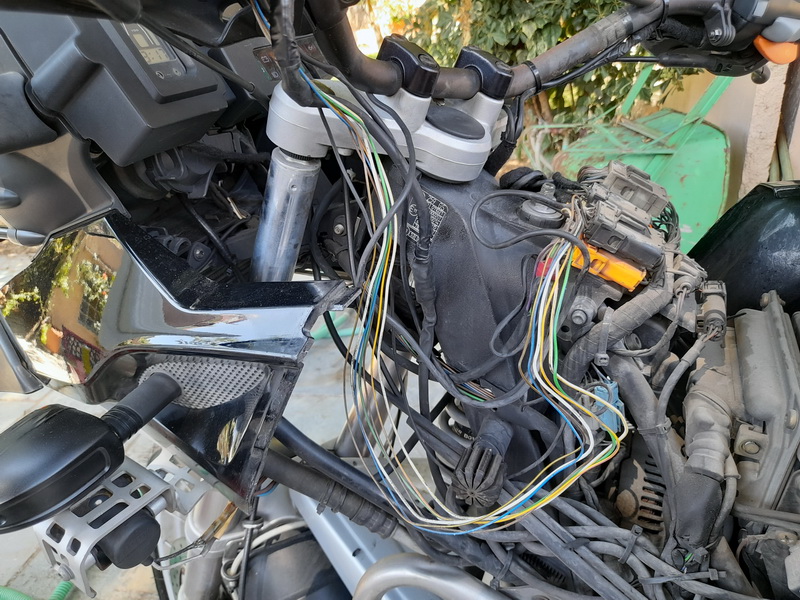
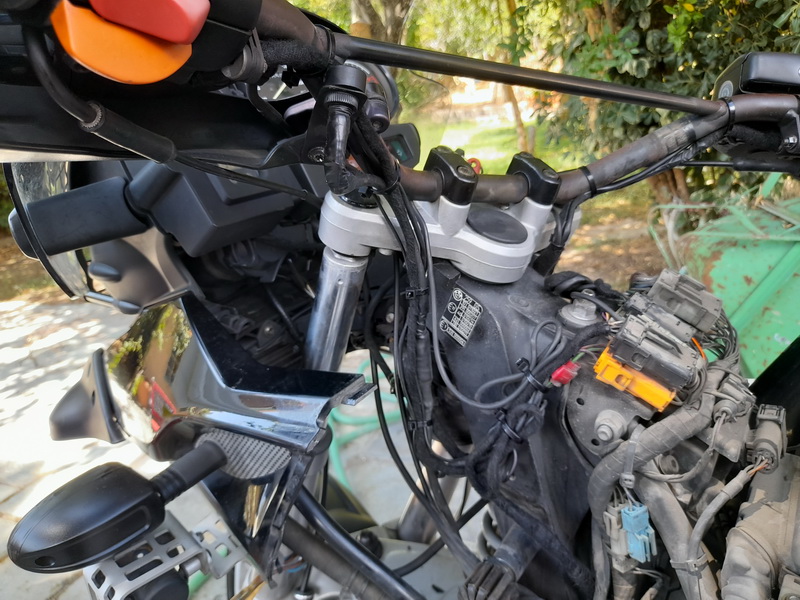
And a little more on the other side.
Mounting everything back together. Takes some patience, but in the end everything is tidy and no bolts or washers missing!
it works!!!
All ready!
What we had...
A brief test ride showed me what I referred earlier as a "problem".
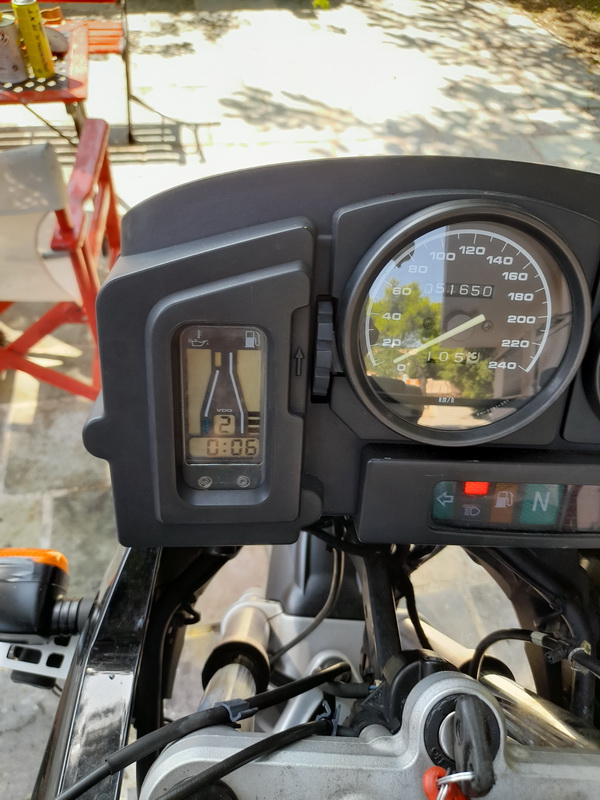
Remember to reset the clock, too!