Painting!
My bike is a 2017 model JABBER 2015+, by Lightscale. The "2015" denotes the first year the bike appeared in the market, and the "+" denotes that it's the updated 2017 model! It also has some unique features and upgrades, done during the year, but this is not the point!
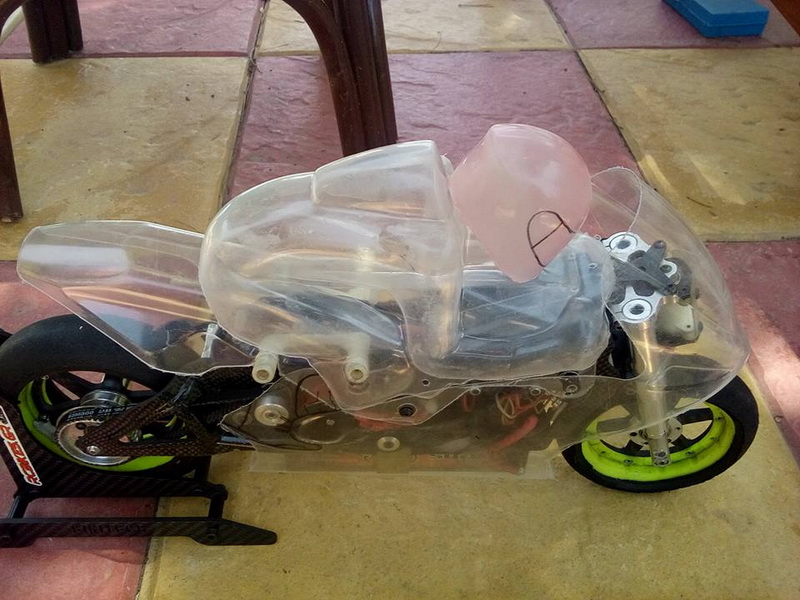
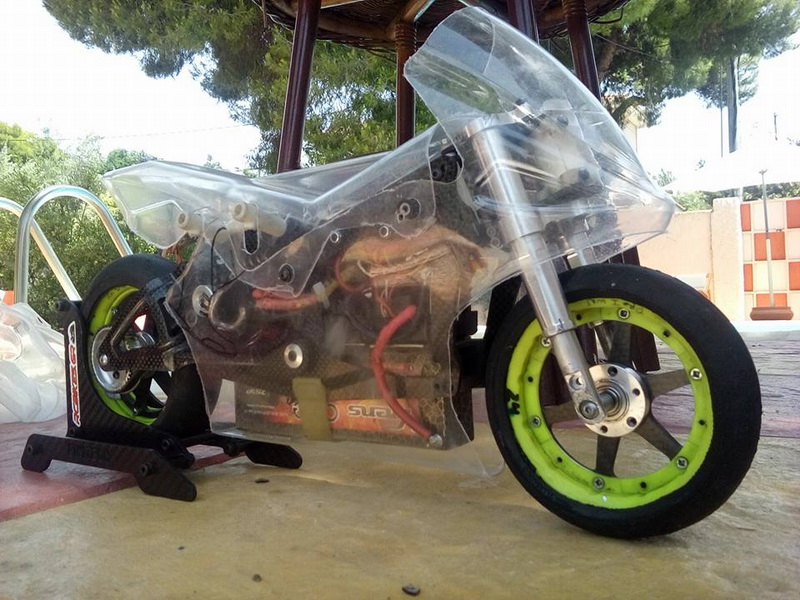
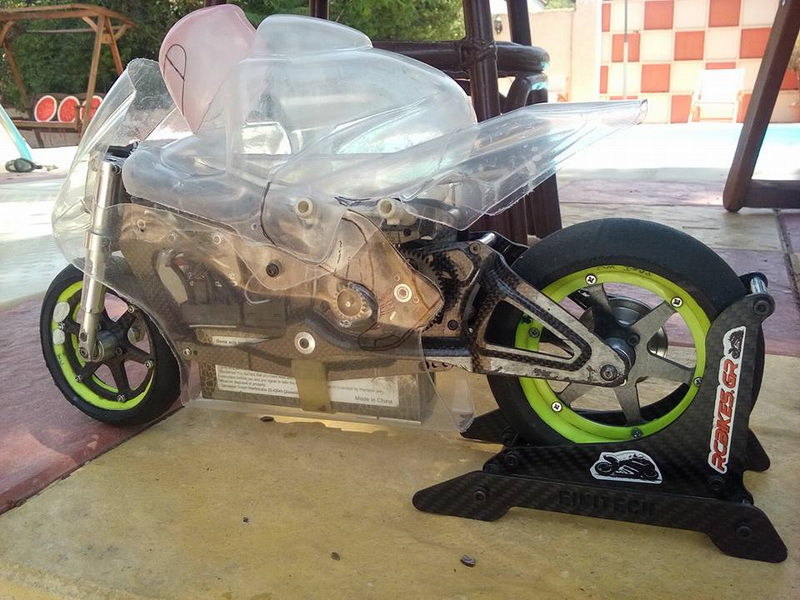
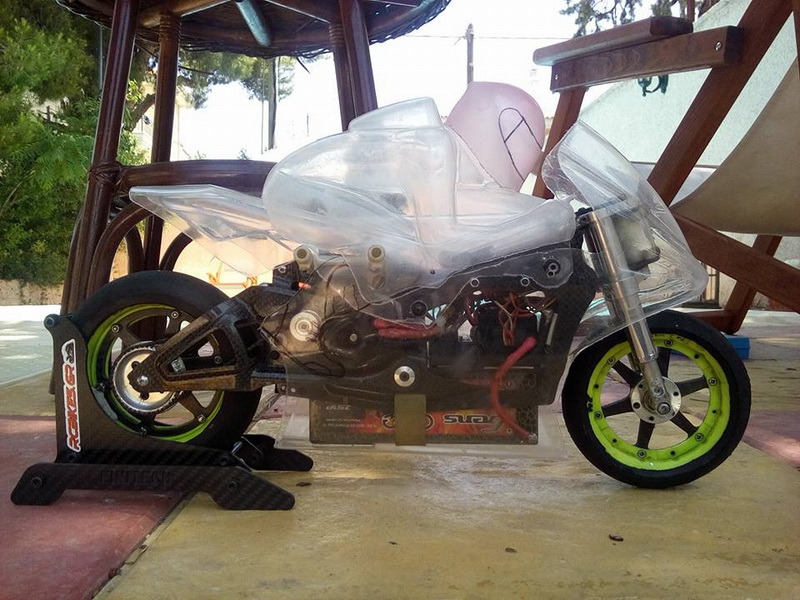
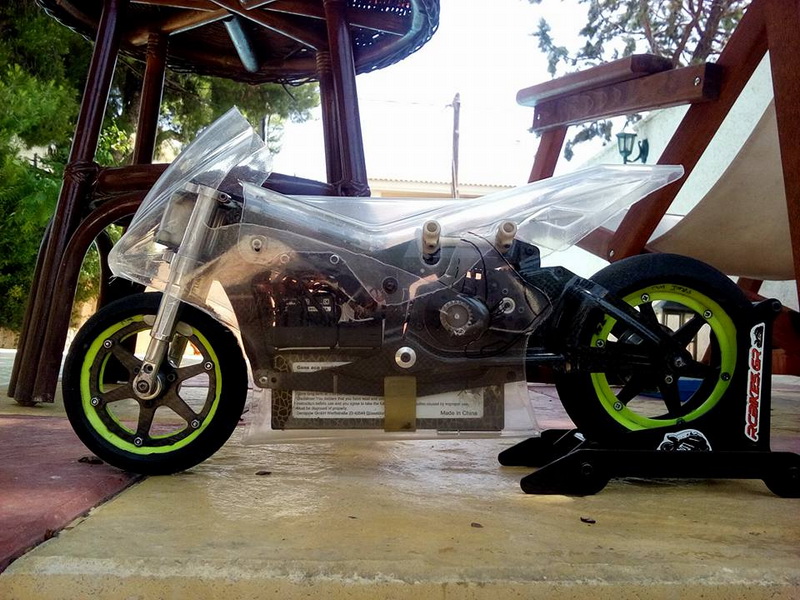
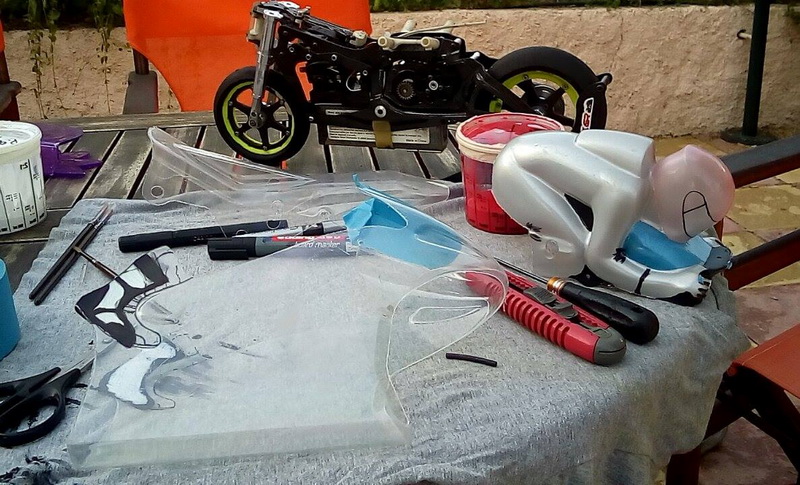
The bike comes with a transparent lexan fairing and driver figure, which are covered on the outside by a thin, also transparent, protective film.
They can be painted on the inside, using either spray can colors, or colors in a bottle, using an airbrush.
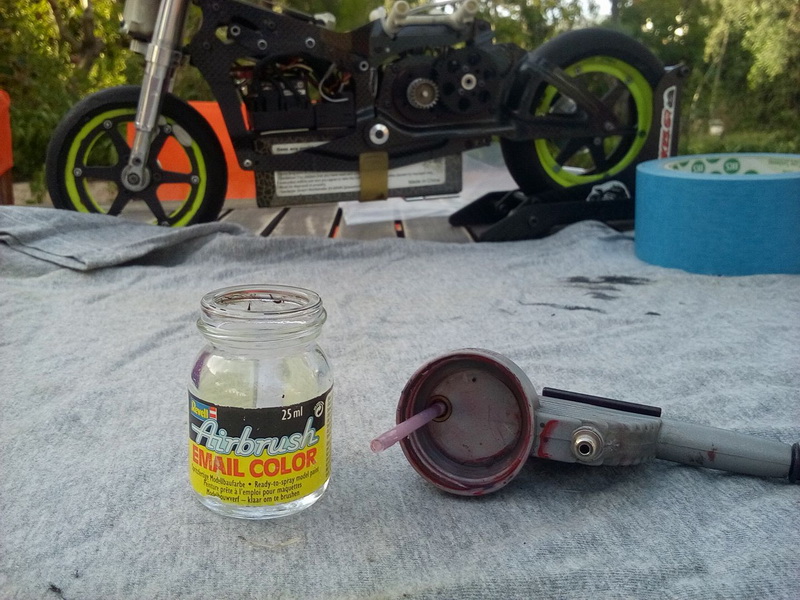
Since I was painting just red, I used my very old Revell airbrush, which is quite primitive, but it is sufficient for the job.
Funny thing is, I broke the original jar that came with the airbrush: I dropped it while cleaning it!
To the rescue came George Modeller, from Model One, who supplied me with a jar full of black color, which I poured into another jar, cleaned the... "Email Color" jar (Enamel was probably the correct word!) and used it for my painting!!!
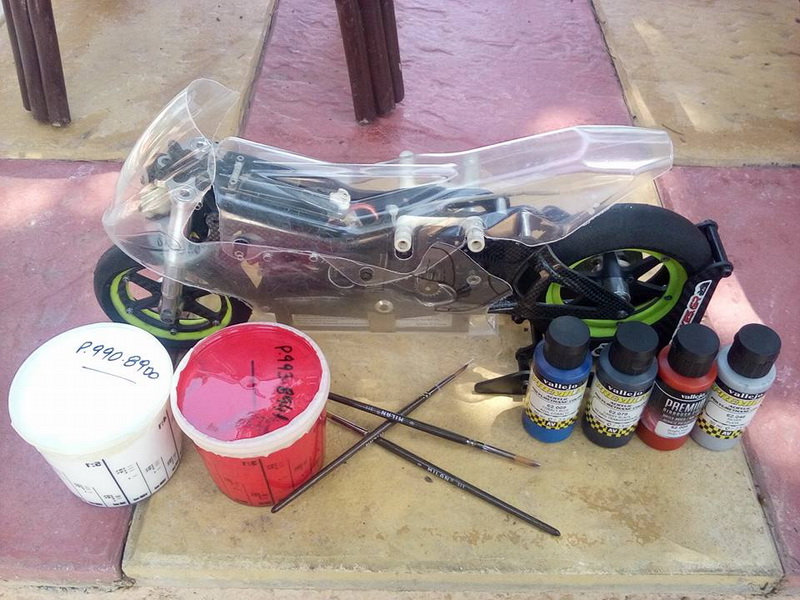
I used water based colors, from Vallejo, which I found at a local hobby shop: http://hobbyplanet.gr/en/
I also tried getting colors from a local auto paint shop, but them, also being rc drivers, insisted that the colors they had would flake away, in case of an impact... However, I got 50cc of red and white, just in case (the big cups on the left).
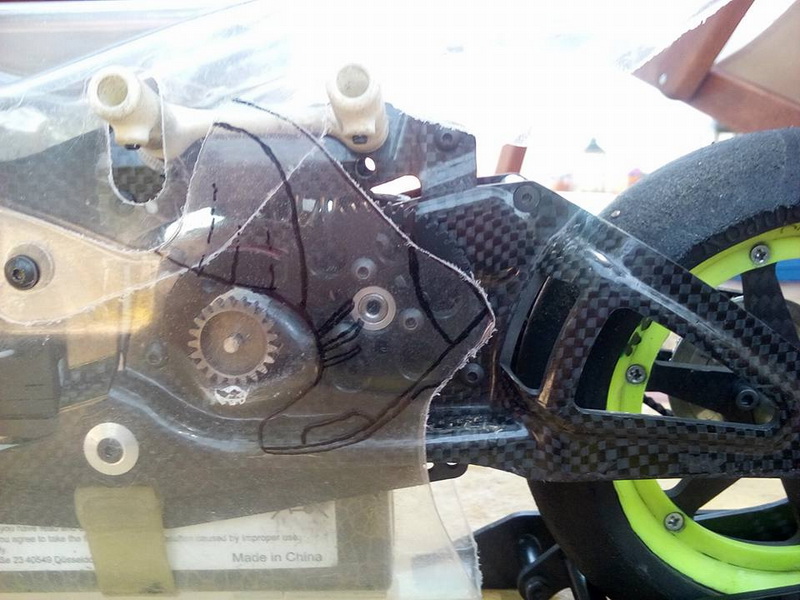
I had the boot marked on the outside, with a permanent marker, so that I could paint the details of it.
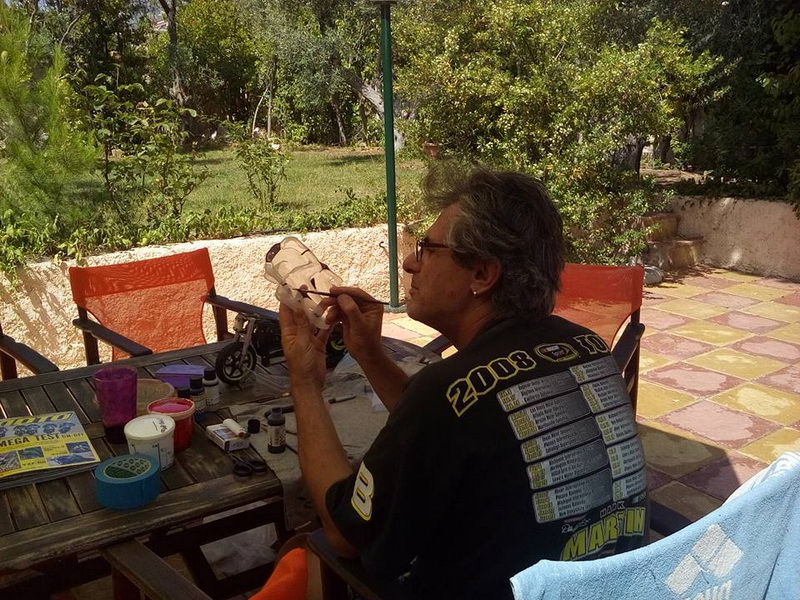
Using soft small brushes I did the detailing on the rider and the boots.
Boot and rider details being done.
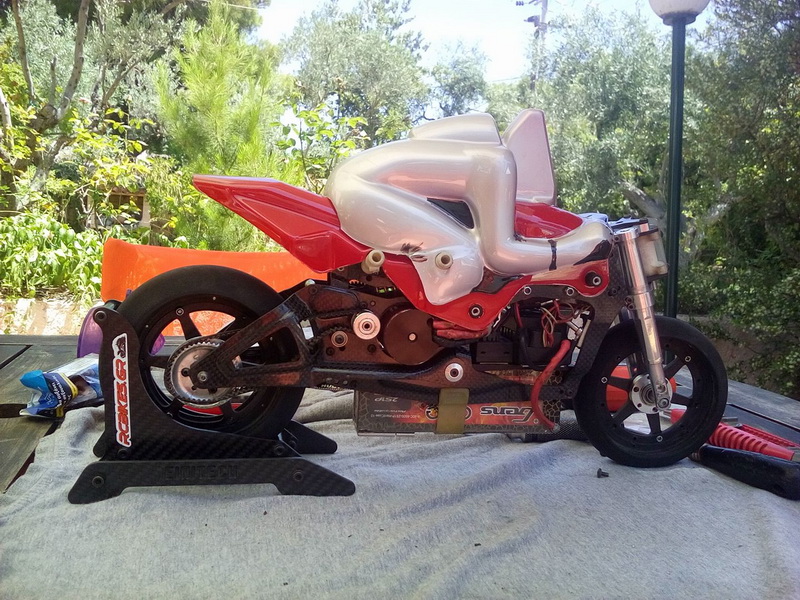
It's looking like a bike, slowly!
Being extremely hot during that weekend, I just left the lexan parts out in the sun for a few minutes and the colors dried almost instantly!
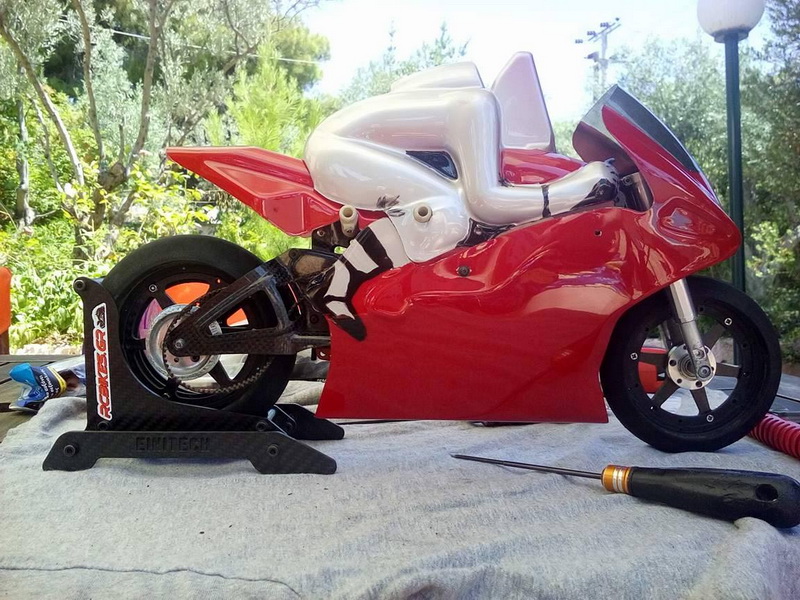
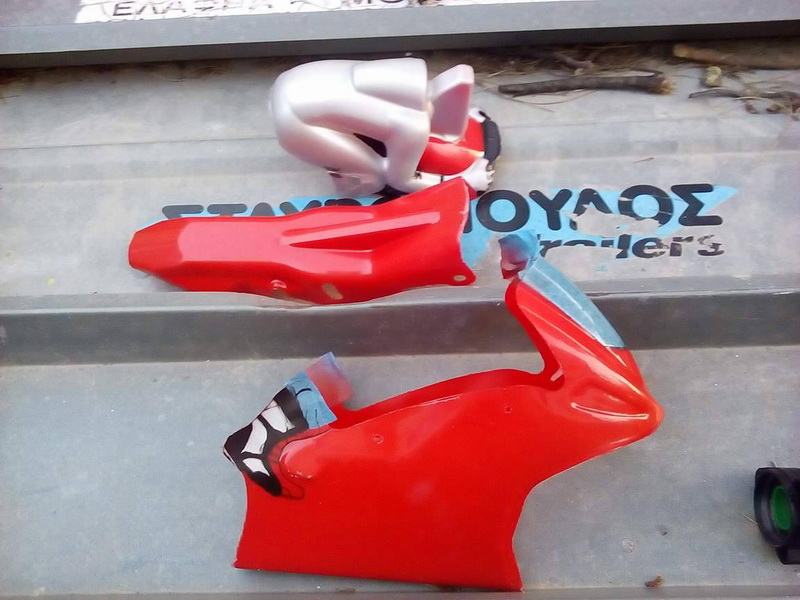
The bike came out like this! After removing the outer protective film, I could see the colors!
I applied a coat of silver over the red parts, so that the red would not be transparent. Usually, painters do it in white, but since I had plenty of silver...
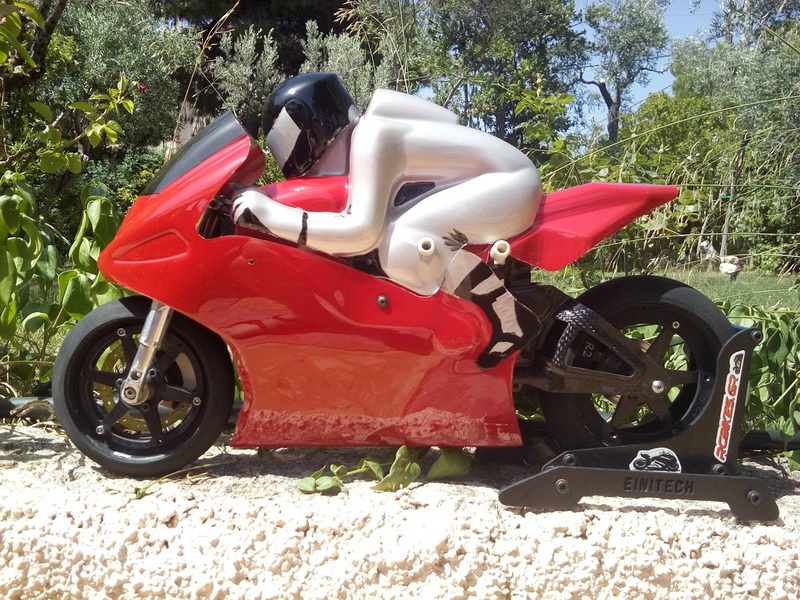
I glued the rider to the tank/seat part, and also secured him with three small M3X6 screws. I also glued the helmet on the body. All the gluing was done using Hudy Body Fix (similar to ShoeGoo).
Next page. The drawing!