Installing a footrest in a Leon 1P!
(by clicking on the pics, you can see them bigger at 800X600 pixels. Press "back" button on the browser to come back to this page, after viewing).
Regardless if the car is manual or DSG, the procedure is exactly the same... (May also apply to the Altea, but I have not tested it).
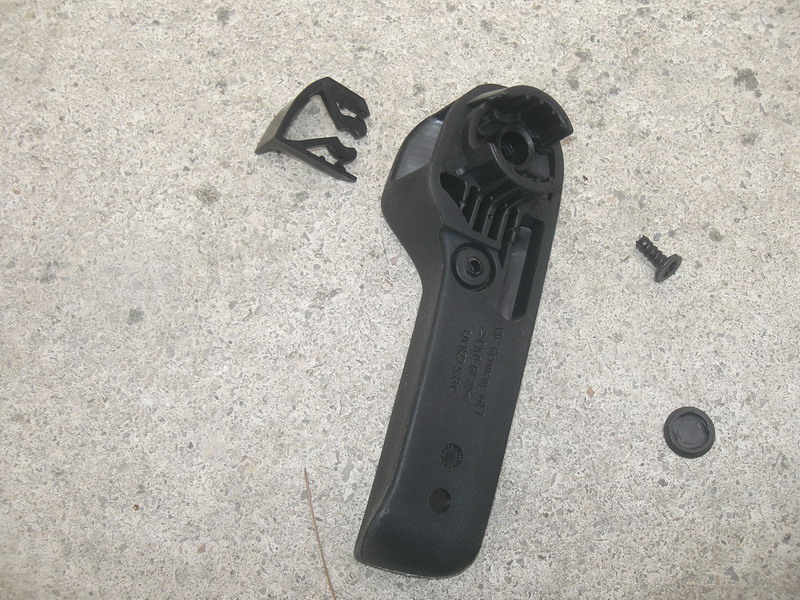
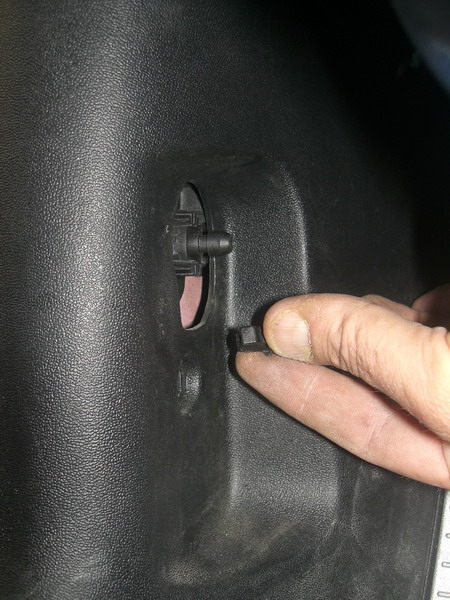
The first step is the most sensitive: At the same time it's extremely simple and easy! Take out the boot opening handle.
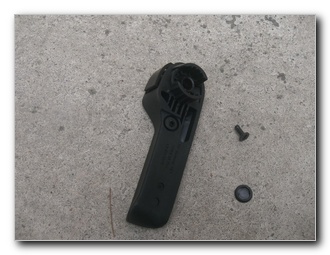
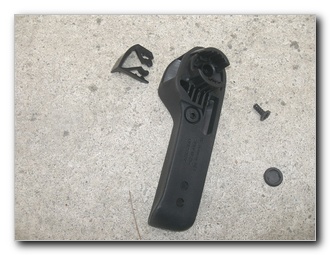
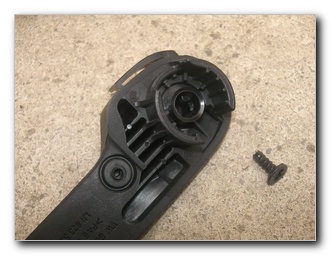
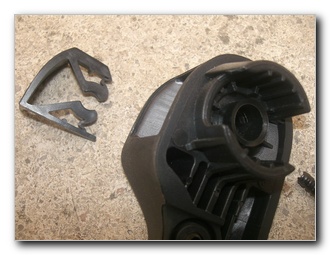
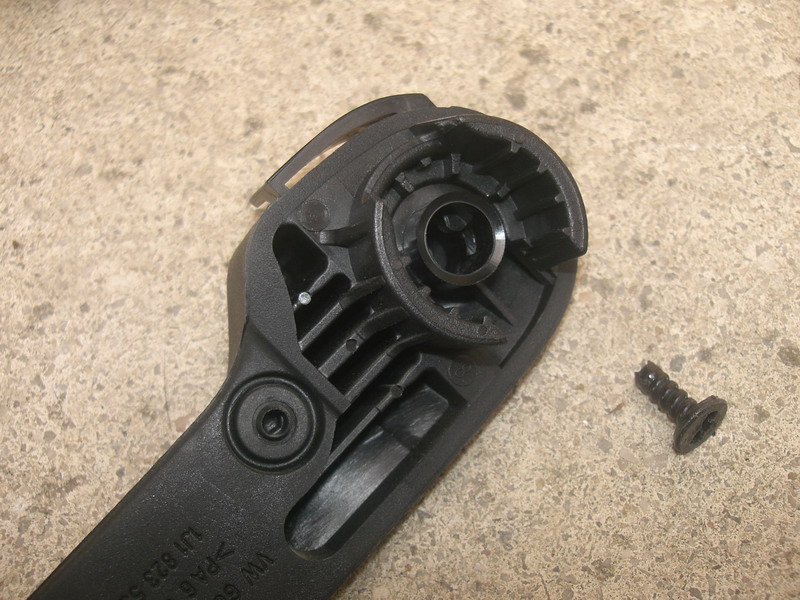
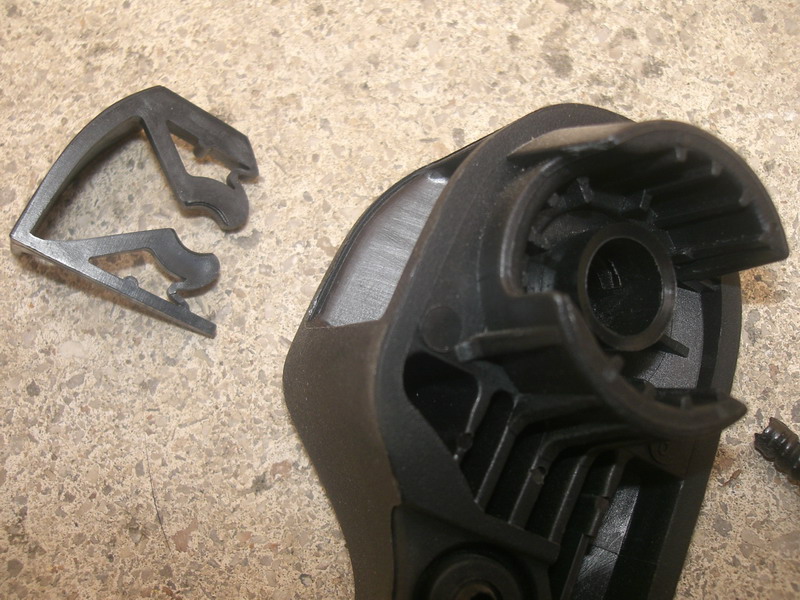
You have to insert a rather small and very thin flat blade screwdriver and feel the "click", since it's very... dark down there for you to see anything! Insert the edge of the screwdriver into the small slot (in both left pics, above). If you pull it as much as it will go inside the cavity of the handle, the handle will come out by simply pulling it away from the car. After the handle is out, you can see a plastic screw hiding behind a small circular cap (seen at the above pics).
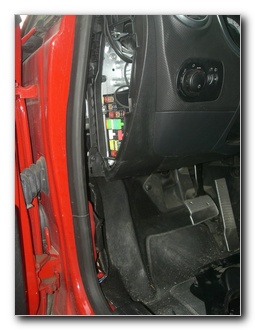
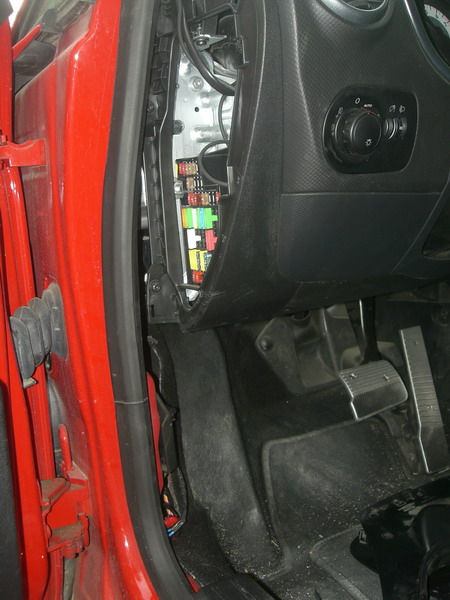
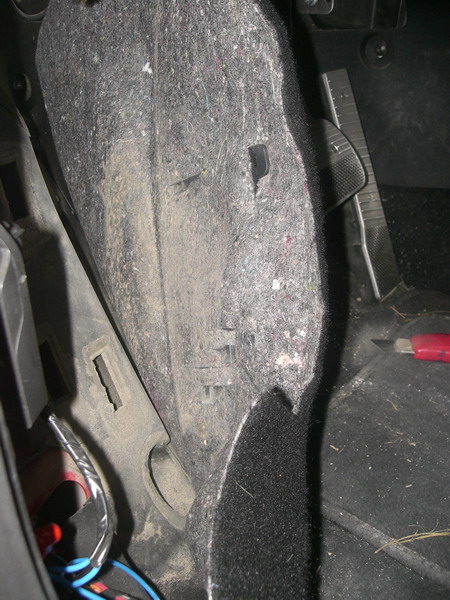
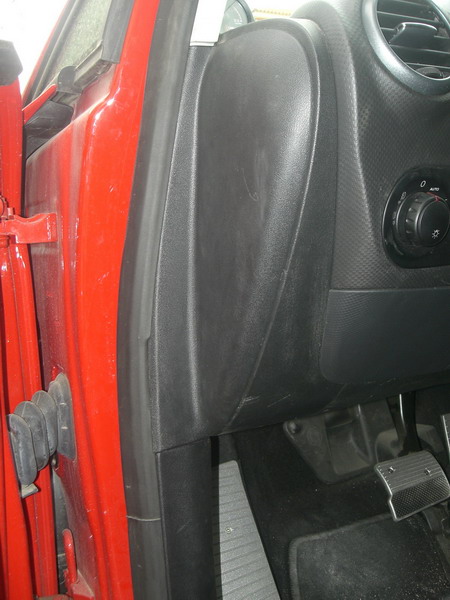
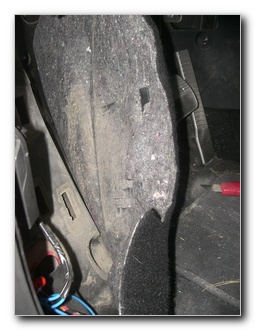
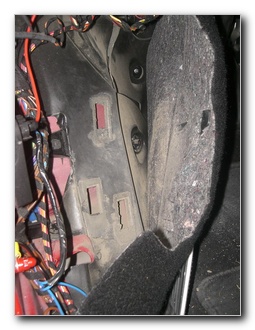
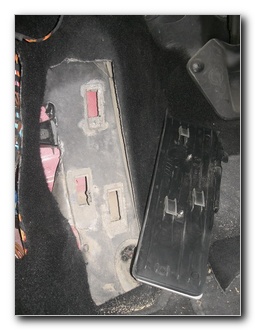
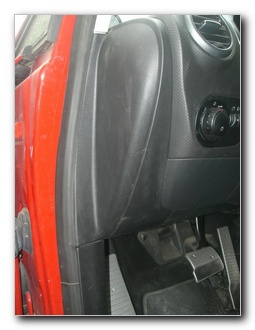
To remove the lower plastic cover, it's best to first remove the upper cover, that goes over the fuses (you can see this procedure in the owner's manual). It's very simple and easy. take care that all the metal fittings stay on the top cover.
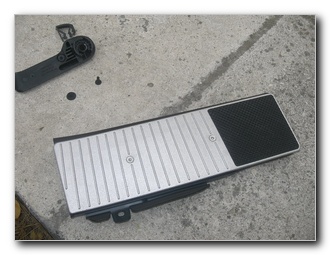
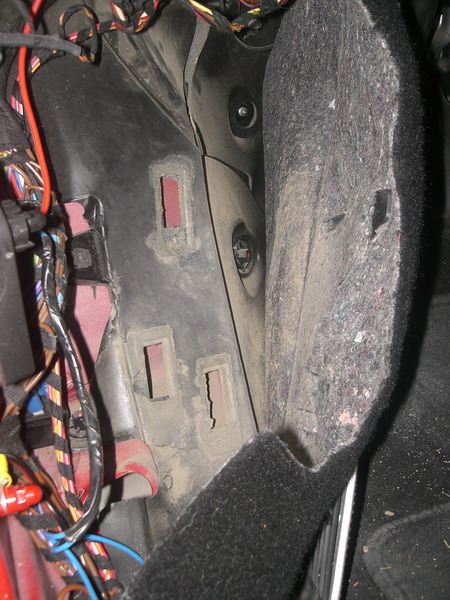
Before starting, we should have done this: Simple. Drill 2 holes on the plastic part (part number 1Κ1864777Β 9Β9, cost is 5.75 euros in Greece). The bolts and nuts come with the aluminum footrest. Take a look at the back: You will notice it has three catches...
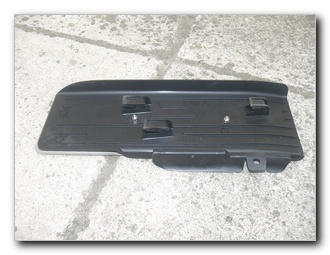
By lifting the carpet we can see exactly where these three catches will fit. I tried installing the plastic part first with the carpet in place. I did three cuts in the carpet, but it's too thick for the catches to pass through the carpet AND the metal behind. We mark carefully and cut the carpet, so the plastic footrest will actually touch the metal beneath the carpet.
In the right photo, above, you can see I cut more carpet than I should. We will fix this in a minute!
Test fitting the footrest, you can see (above, left) the... mistake! On the right, we fixed it! How?! I put a drop or two of glue on a piece from the carpet I just cut and all is well! So, let's move on...
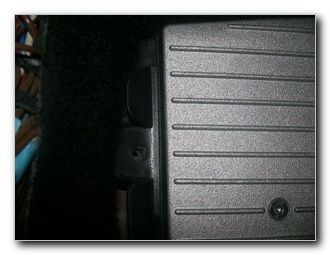
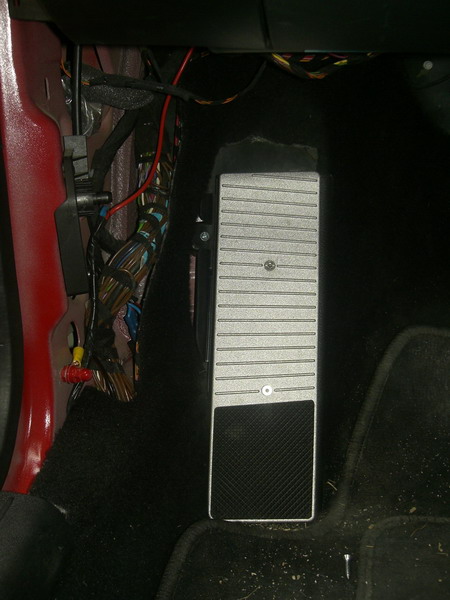
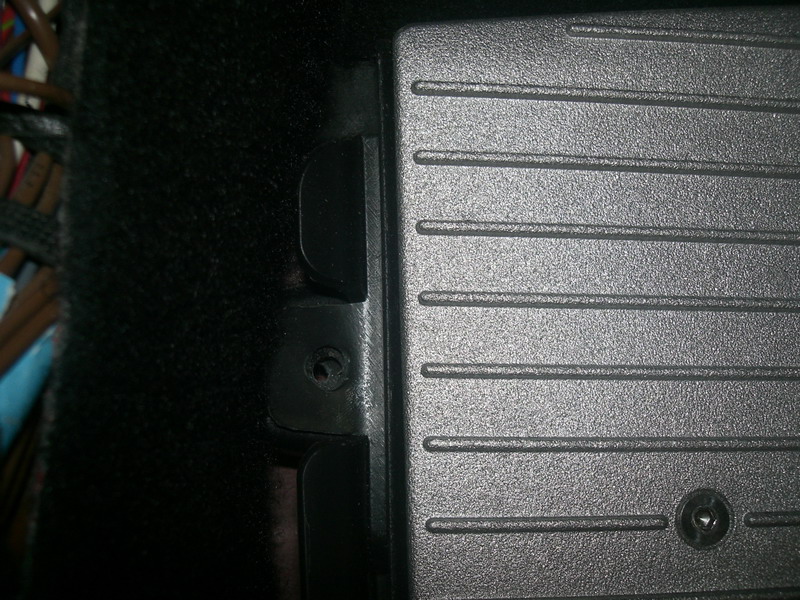
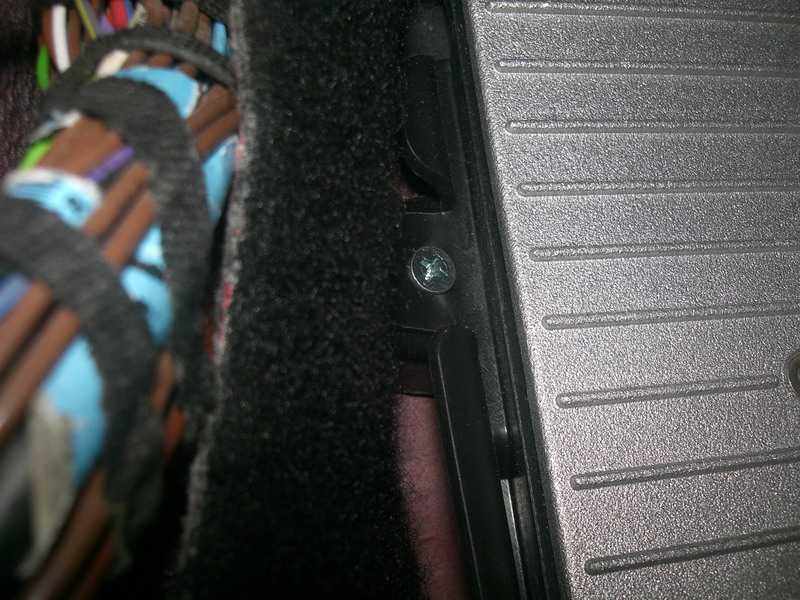
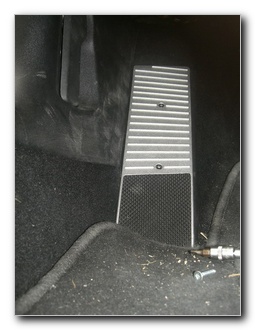
Testing, again, we can place the footrest on its intended position, having first carefully passed the three catches in the metal, paying attention that the hole on the plastic matches the one in the chassis. If it does, then we screw a short screw (something like a 4X8 to 4X10) and we're done.
Almost!
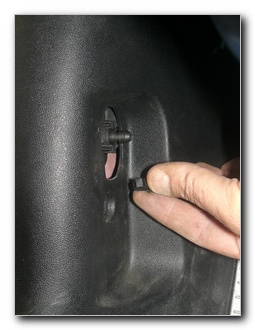
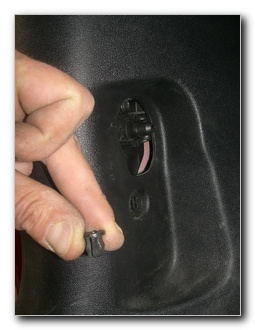
If we look in the footwell, we will find this little plastic part, that had fallen when we removed the handle! We need this part to mount the small plastic screw we removed in the beginning. It actually screws into this little part. Carefully.

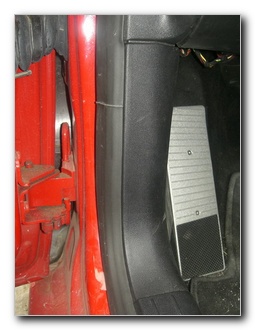
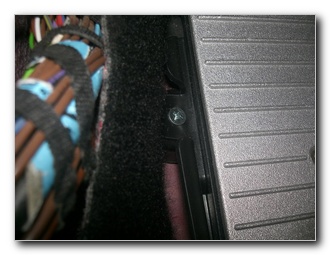
When replacing the plastic covers, both the bottom one and the fuse cover, we must be careful not to pinch the rubber seal of the door, to the left. Actually, it's very pliable, and we can manage it with bare fingers, easily and with no hard work at all.
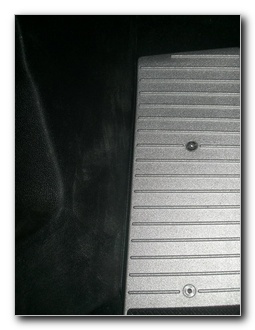
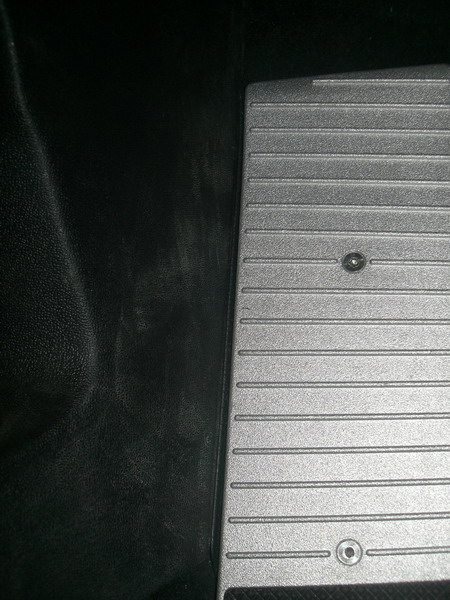
One last check that the lower plastic cover has "clicked" with the plastic footrest...
And... voila!
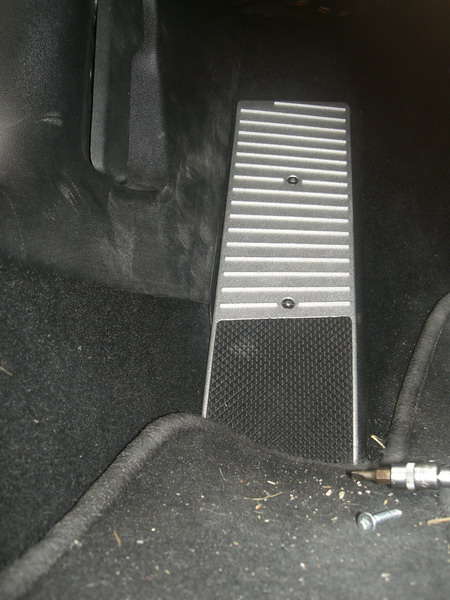
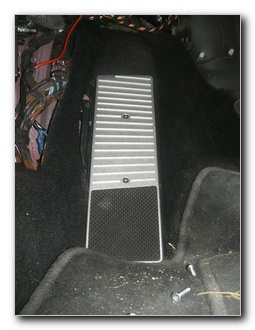
Our footrest is ready, pretty and stable!
Procedure duration: 45 minutes, easily.
Cheers!
This page in Greek